| |
| AFTER ACTION REPORT #027 - MARS SURFACE
COMBAT |
 |
| |
This MGV battle took place on the surface of a
Mars-based structure, with a Selangor attack group crossing a gap in the
surface structure in order to engage a stronger group of Australian MGVs. The
Selangor did extremely well and managed to force the Australian formation off
the board.
Australian Forces and weapon selections (Total 197
points):
One Super Komodo heavy MGV (photon main)
One Komodo heavy MGV
(photon main)
One Gila A1 weapon platform (repair platform)
One Tokay
weapon platform (photon main)
Three Whiptail medium MGV (kinetic mains)
Selangor Forces (Total 163 points):
Two Hammerhead heavy MGV (thermal
mains)
One Thresher heavy MGV (missile main)
Two Mako medium MGV
(kinetic mains)
One Sharpnose light MGV (kinetic mains)
One Cat light
scout MGV (beacons)
|
|
| |
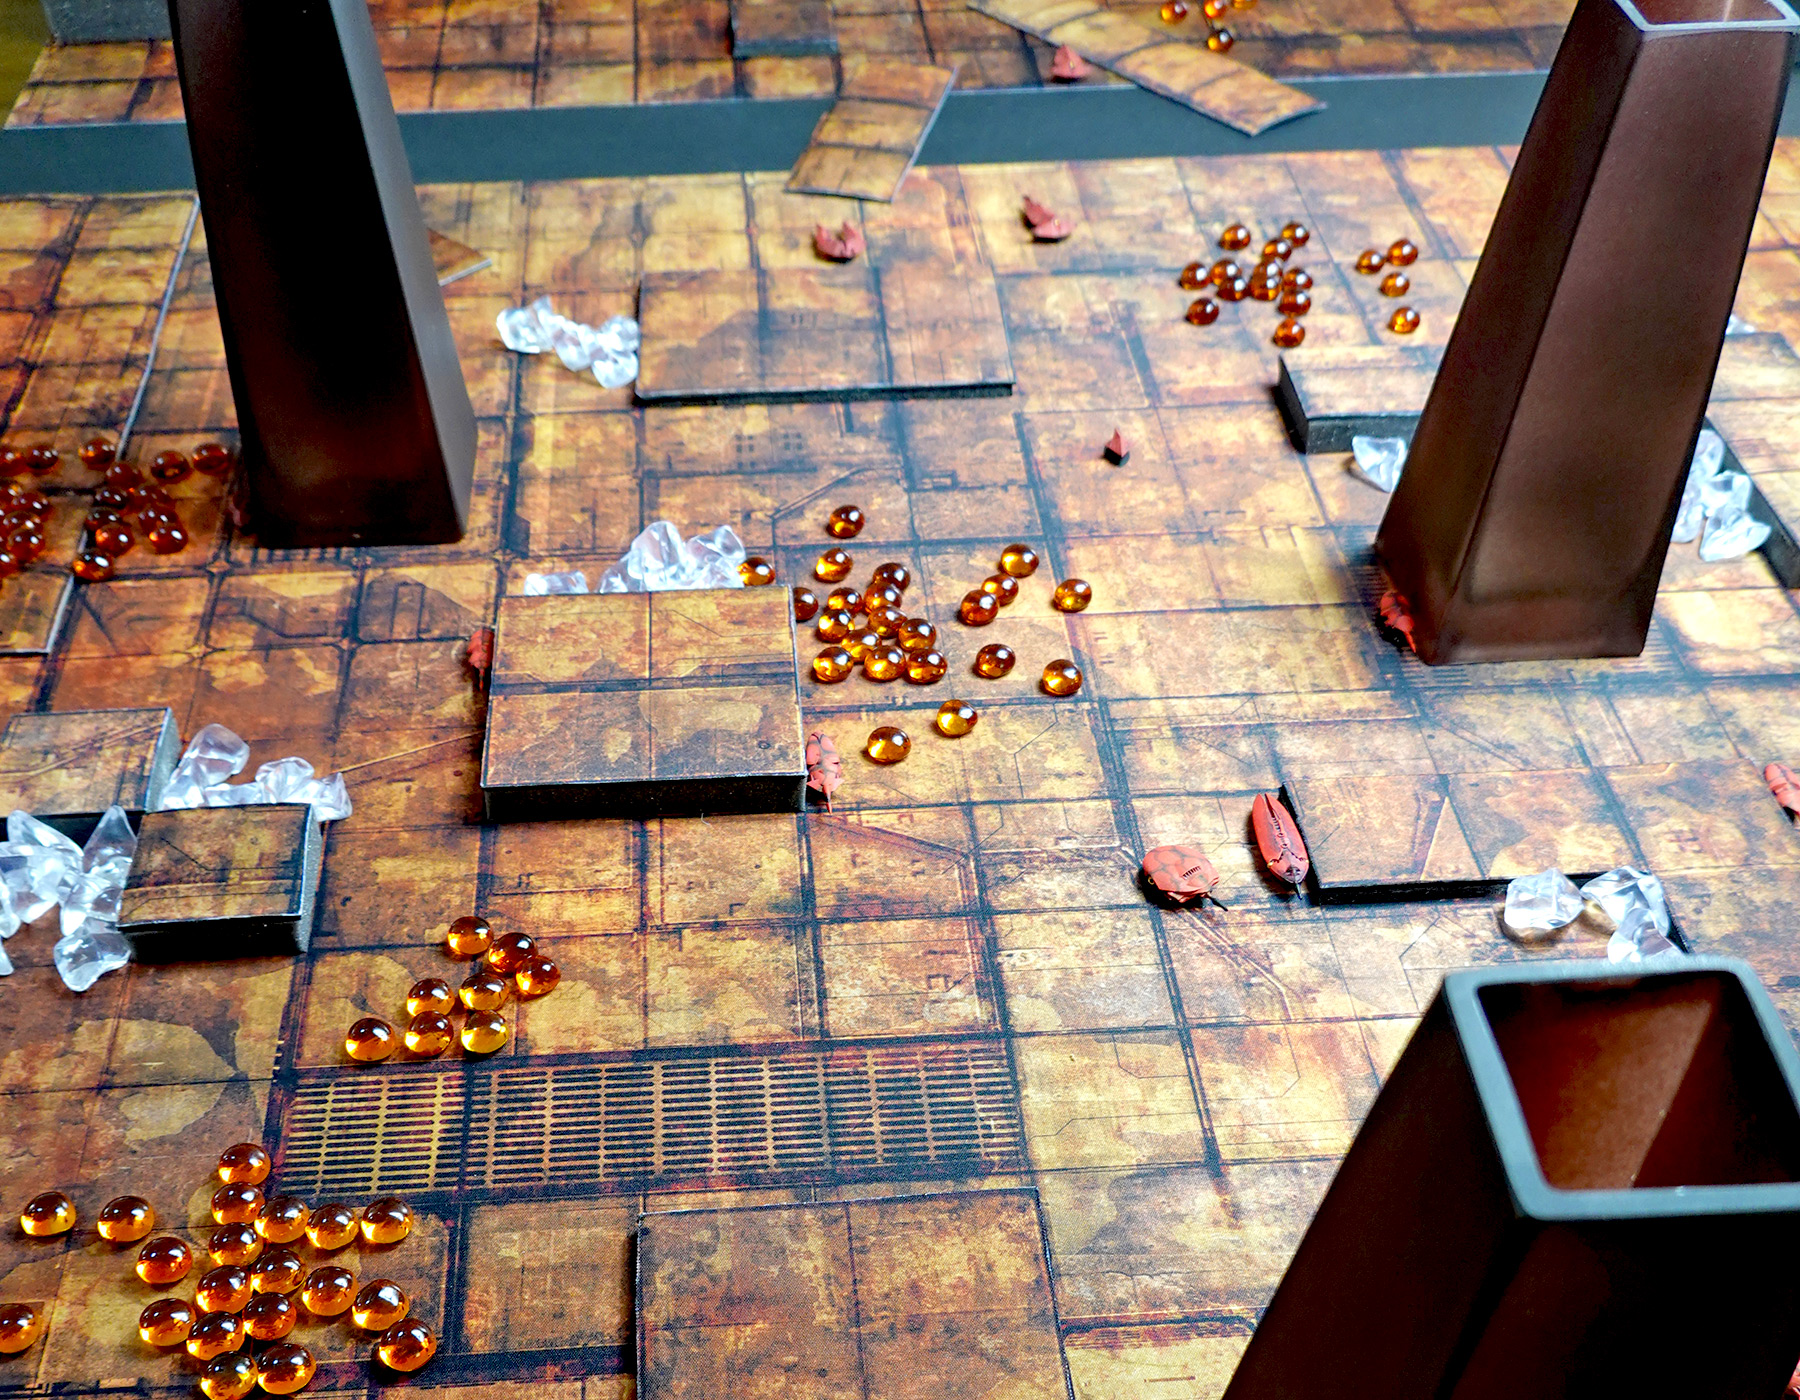
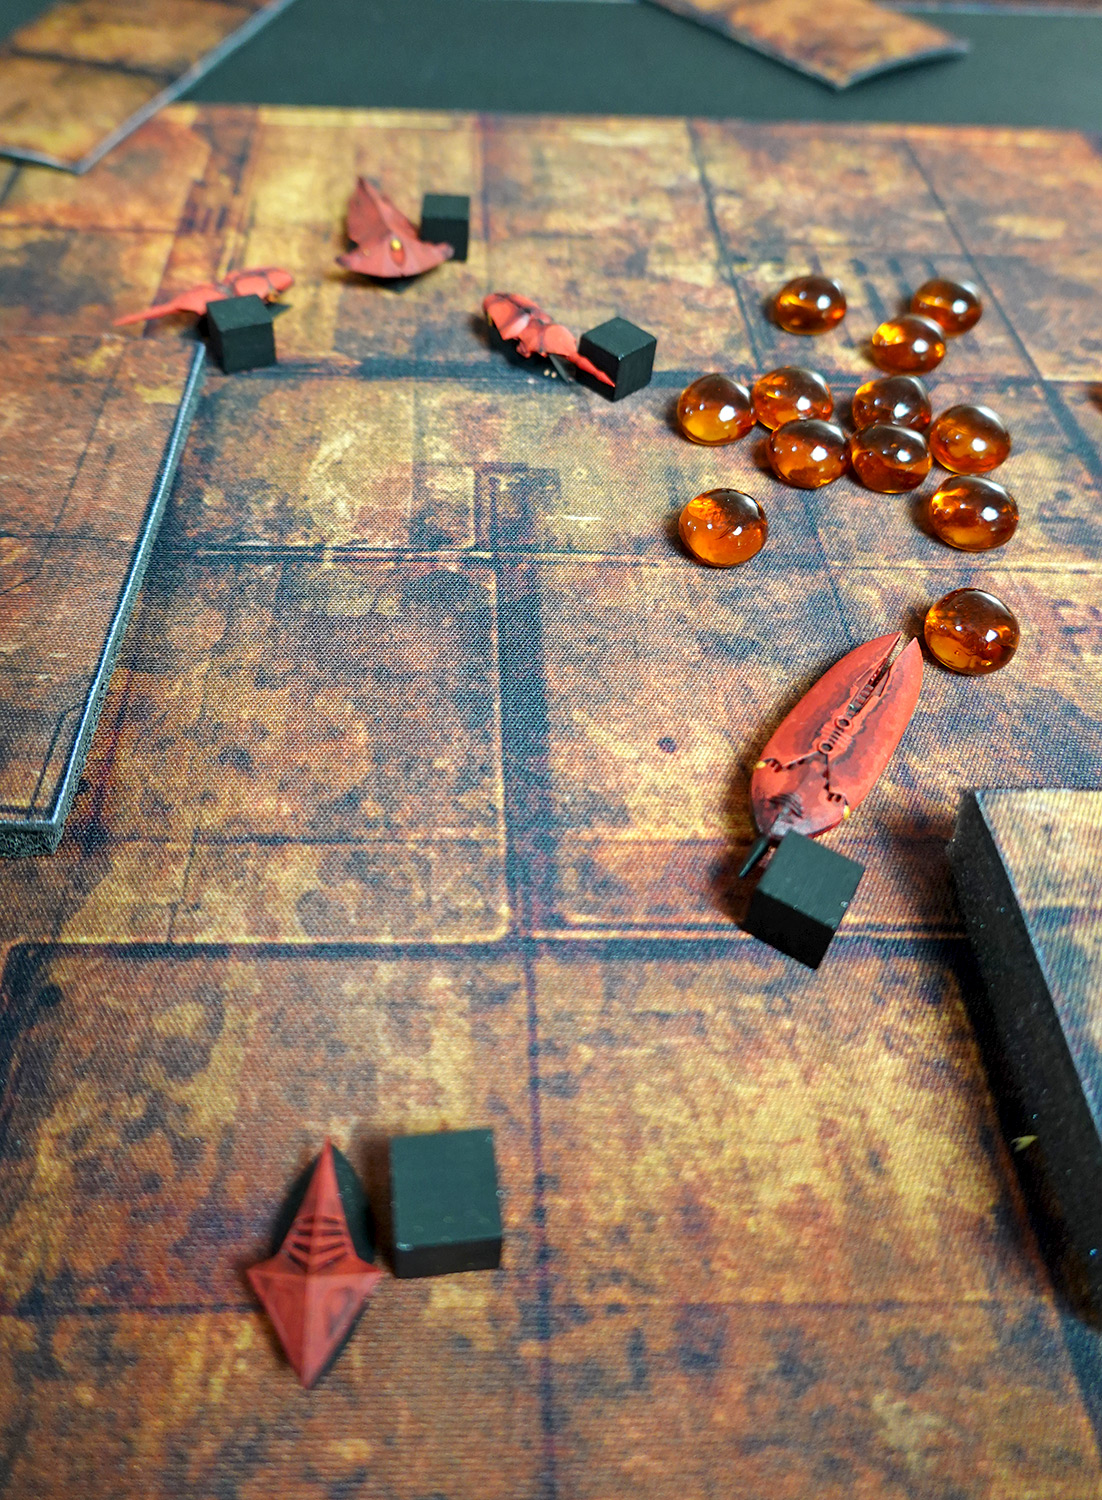
Above: Battlefield overhead view. The Selangor
positions are along the top half of the photo, the Australian position is
across the center. The Selangor have advanced across the gap (black strip at
top) and their fastest units have already advanced as far as the left edge of
the left-most tower. |
| |
The battle occurred on a flat, geometric surface
punctuated by several access towers and numerous surface irregularities. The
gaming mat we used was the Deep Studio's Underhive mat, a rusty reddish
grid-like surface which we accentuated by using two mats; one as a base and the
other which was cut into various forms and stacked on black foam spacers to
give a more three dimensional look (varying heights equaling low obstacles and
high obstacles). It's a great gaming mat for science fiction battles.
Deployment:
Australian forces started the game distributed across
the center of the battlefield, with most units "hull down" next to other
features (full camouflage). Selangor forces deployed crossing a small bridge of
loose material that bridged a gap in the surface.
|
| |
Turn 1 & 2
The Selangor moved
forward, with the thermal equipped Hammerhead units taking up a position
commanding the center lane of the battlefield. The light units (Mako and
Sharpnose) moved to the Australian left flank. Their Cat recon unit quickly
moved up the center of the Australian position and launched position marker
beacons at several Australian MGVs. The Australians won the first fire option
but missed their shots on the Hammerheads. They did conclude that even though
the Cat was a seemingly harmless unit that would eventually run out of beacons,
that it was better to avoid having their positions flagged so liberally from
close range. So unlike many players before them, they put a fairly heavy fire
onto the small Cat, causing much damage and knocking out half of its beacon
firing capacity.
Selangor return fire was heavy; the two Hammerhead
units correctly decided that the Tokay weapon platform could be dangerous and
was unusually far forward. Their concentrated thermal fire put a total of seven
Hx hits (destroyed hull section) on the Tokay in just two turns. This massive
peeling open of the MGV's hull was followed by a textbook missile attack from
the Thresher.
As both sides moved forward, return fire from the
powerful Australian Komodos as well as the badly damaged Tokay (whose main
armament had not been damaged yet) put numerous hits on both of the Selangor
Hammerheads.
Turn 2 wrapped up with one Australian Whiptail down from a
sudden death following a Thresher missile attack and the Selangor's Cat recon
unit completely wrecked and stopped with its power systems spiraling out of
control
|
| |
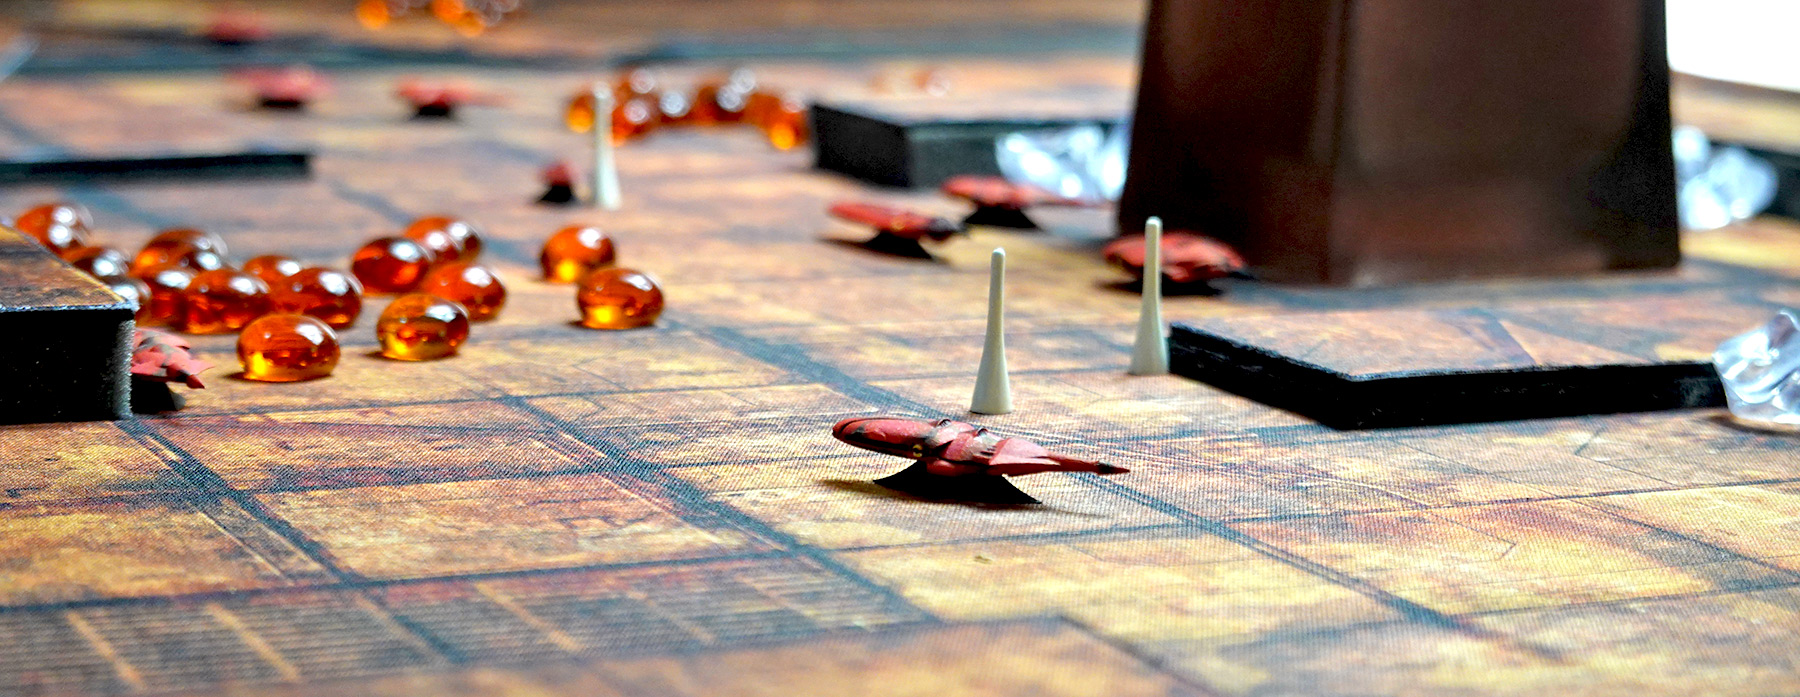
Above: Turn 2, Australian Super-Komodo crossing "The
Lane" across which both sides are firing. In the immediate background are three
other Australian MGVs: The Gila (right), Tokay (left) and Whiptail (upper
center). In the far background to the left is the Selangor Cat, and behind it
an Australian Whiptail attacking a Selangor Hammerhead at point blank range. At
the far left side of the photo can be seen the aft end of an Australian Komodo
still in its start-of-game cover position. |
| |
Turn 3 & 4
Selangor fire continued
pounding the now vulnerable Tokay and the Gila repair platform behind it. The
Selangor were obviously trying to pry the most vulnerable units away from the
two powerful Komodo MGVs that controlled the Australian center.
The
Australians continued pounding the two Hammerheads in return, who held up but
showed obvious signs of wear. The two remaining Australian Whiptails moved
forward to engage Selangor units at point blank range, but their efforts were
partially negated by a somewhat piecemeal commitment, which allowed the
Selangor the opportunity to use their two Mako units first against one Whiptail
(along with Sharpnose help) and then another. The Selangor put a high priority
on knocking down the Whiptails before their close-in presence could cause too
much damage.
By the end of Turn 4, the Australian Tokay and two
Whiptails were knocked out (dead), with the Selangor Hammerheads both badly
damaged, especially Hammerhead 1 which was furthest forward with numerous power
system hits and an internal explosion. It was not knocked out, but its main
weapon was jammed and the MGV was unlikely to do much more in the
battle.
|
| |
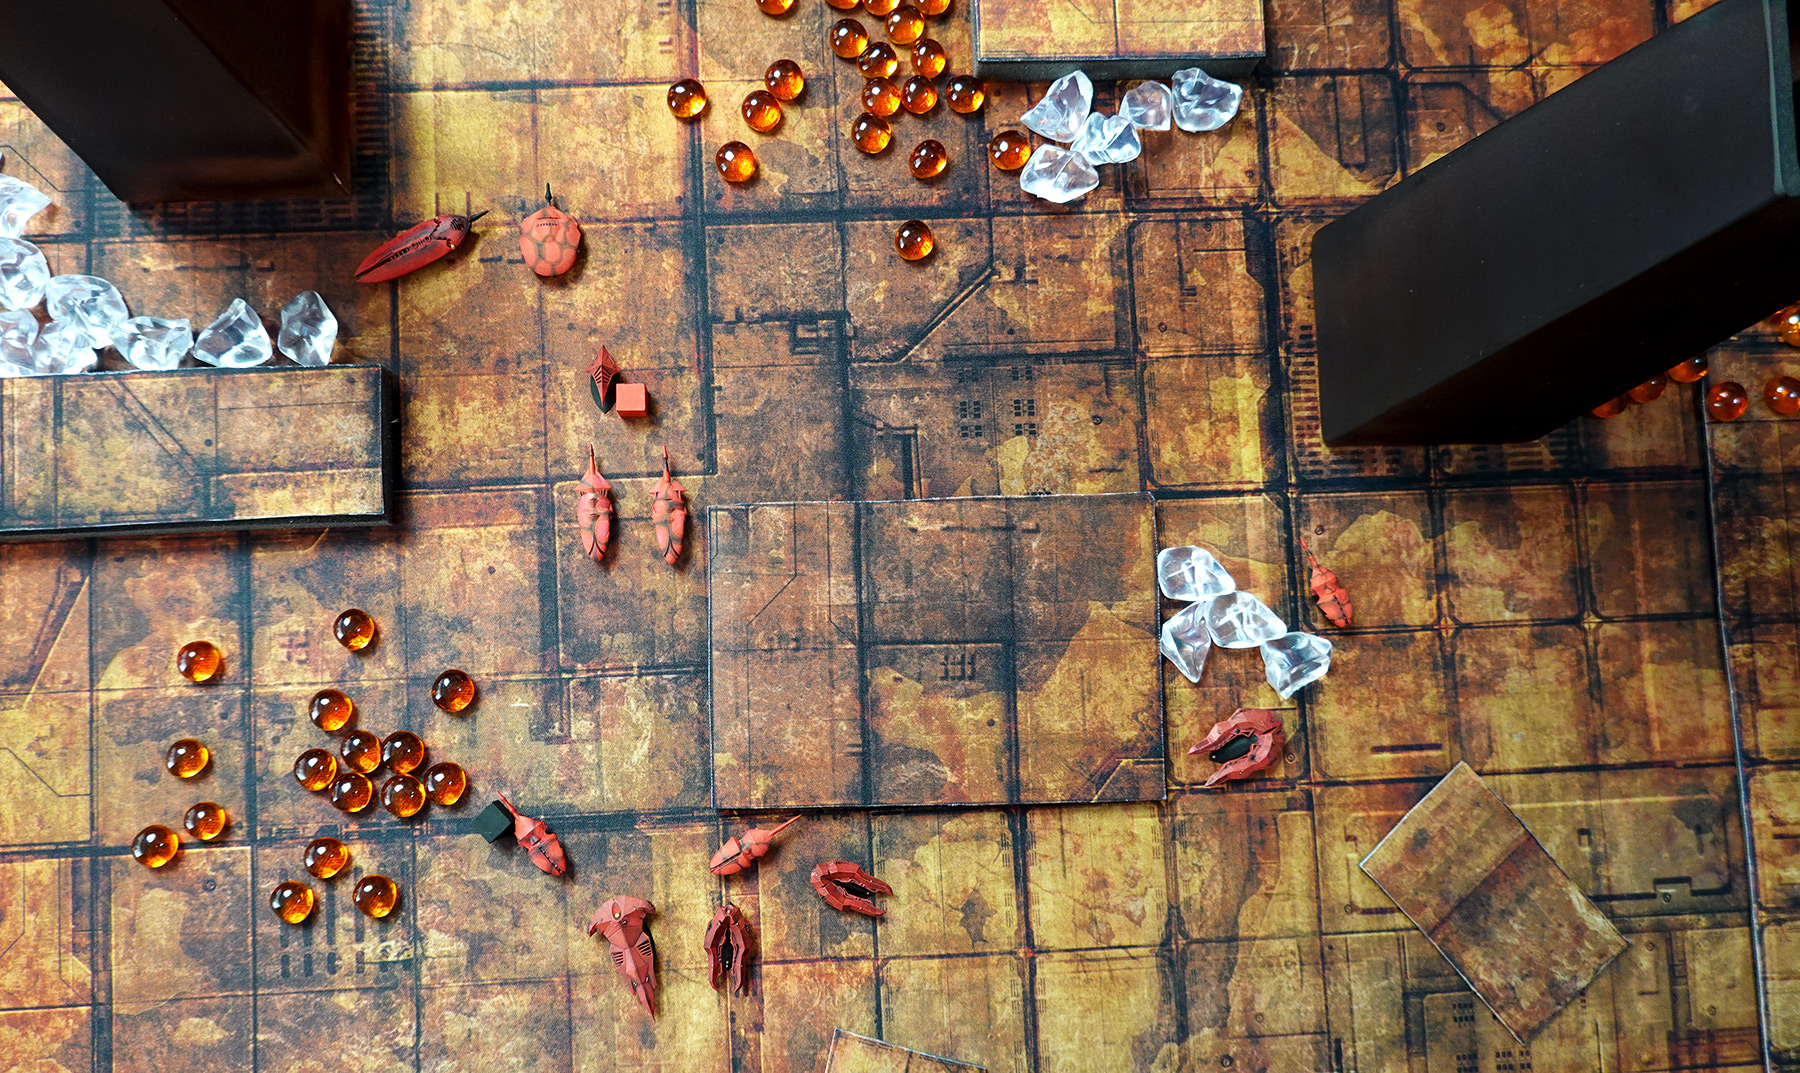
Above: The Australian Komodos (left-center) move
forward to engage the attacking Selangor MGVs. At bottom, two Whiptails have
attacked the Selangor Hammerhead, which is supported on its right by two
Makos. |
| |
Turn 5 & 6
The Selangor heavy
units did poorly on these turns, missing on most of their attempts to put
damage on the two dangerous Komodo units. The Australians began to switch fire
onto the lighter Selangor units due to an intervening rise which blocked much
of both side's line of fire.
The Hammerhead 1 unit was finally knocked
out due to protracted internal power system overloads. At this point in the
battle (end of turn 6) the open lane that had featured at the start of the
battle was now completely blocked by wrecked MGV units from both sides. Battle
action switched to the Australian left flank as the Komodos moved to pursue the
Selangor Thresher (missile unit) which was moving around their flank.
|
| |

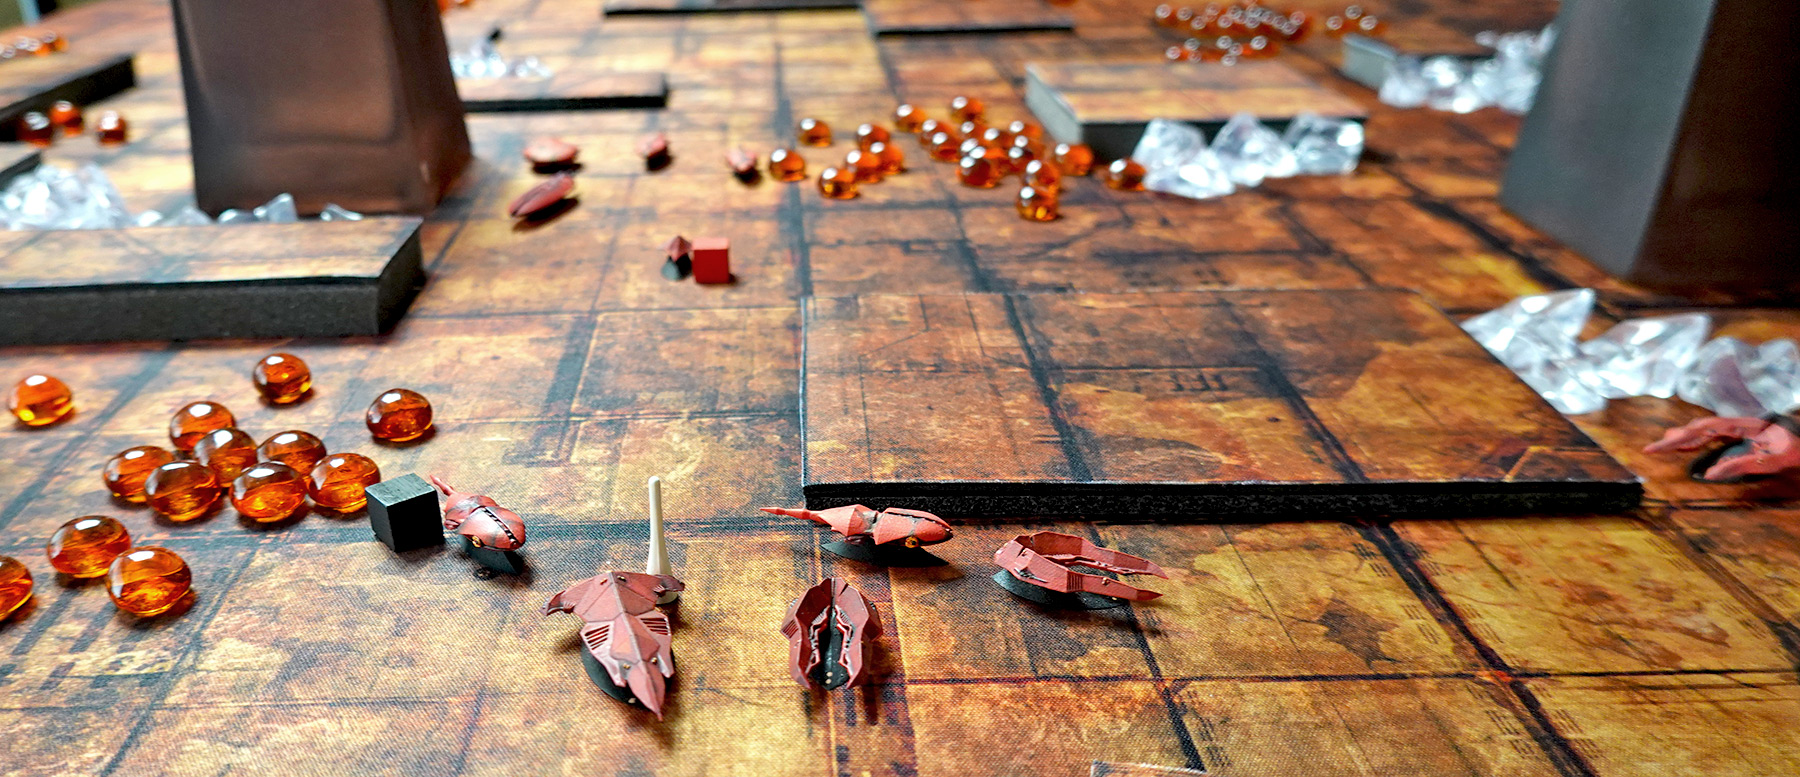
Above: Close-up of two Australian Whiptails engaging
three Selangor MGVs at point-blank range. |
| |
Turn 7 & 8
Over on the Australian
left flank, the probing Thresher MGV withdrew back toward Selangor lines,
continuing a steady missile fire as it pulled back. The pair of almost
miraculously unscathed Selangor Makos punched past the last (admittedly
crippled) Whiptail and came in behind the damaged Gila repair unit that was
tailing the Komodos for mutual safety.
The final turns of the game
became a battle of Komodos versus the rest of the (mostly damaged) Selangor
remnants. The Gila was hopelessly damaged, and while the Komodos continued to
maintain a lethal front, the Australian player decided enough was enough and
pulled them off the left side of the board before another several rounds of
missile and thermal fire poured in on them. Game over, Selangor
victory.
|
| |
| |
Above: Wider view of the photo shown above; Hammerhead
#1 at left foreground has been beacon marked by the Whiptail setting next to it
(the Whiptail has since been knocked out and the beacon is about to expire).
Note the immobilized Cat recon unit in the distance and approaching Australian
MGVs beyond. |
| |
Above: Selangor Thresher sheltering behind obstacles.
This unit used cover and friendly unit spotting to put indirect missile fire
onto the enemy MGVs visible in the background. |
| |
Analysis
The Australian player made
few mistakes, but those couple of errors combined with good weapon selection
and fire management by the Selangor player made a long term difference in the
game. Using the Gila as a giant repair unit - while tempting and somewhat
experimental - probably did not pay off in the long run. There were only so
many things it could repair and it couldn't be everywhere at once.
In
return the Australians effectively lost a combat unit going into the game which
as things turned out, would have made all the difference eight turns later.
Moving the Tokay too far forward and letting too many individual MGVs fight on
their own across a slightly scattered front made another difference. It was a
great game, an attacking player with a thirty-point disadvantage in buy points
managed to squeak out a victory, not an easy task.
|
| |
Above: Close-up of Hammerhead #2 toward end of the
game, as it closed on the Australian Komodo's final positions (off screen
right). Behind it is the missile firing Thresher MGV. At this point in the
game, both units were damaged, with the Hammerhead having recovered slightly
from heavy damage suffered earlier in the game. |
| |

Above: The two Australian Komodos (one Komodo and one
Super-Komodo) as they withdrew off the left side of the board. In the right
background are two Selangor Makos and the just self-destructed Australian Gila,
which had suffered too much damage and lost too much speed to be able to
withdraw along with the Komodos. |
| |
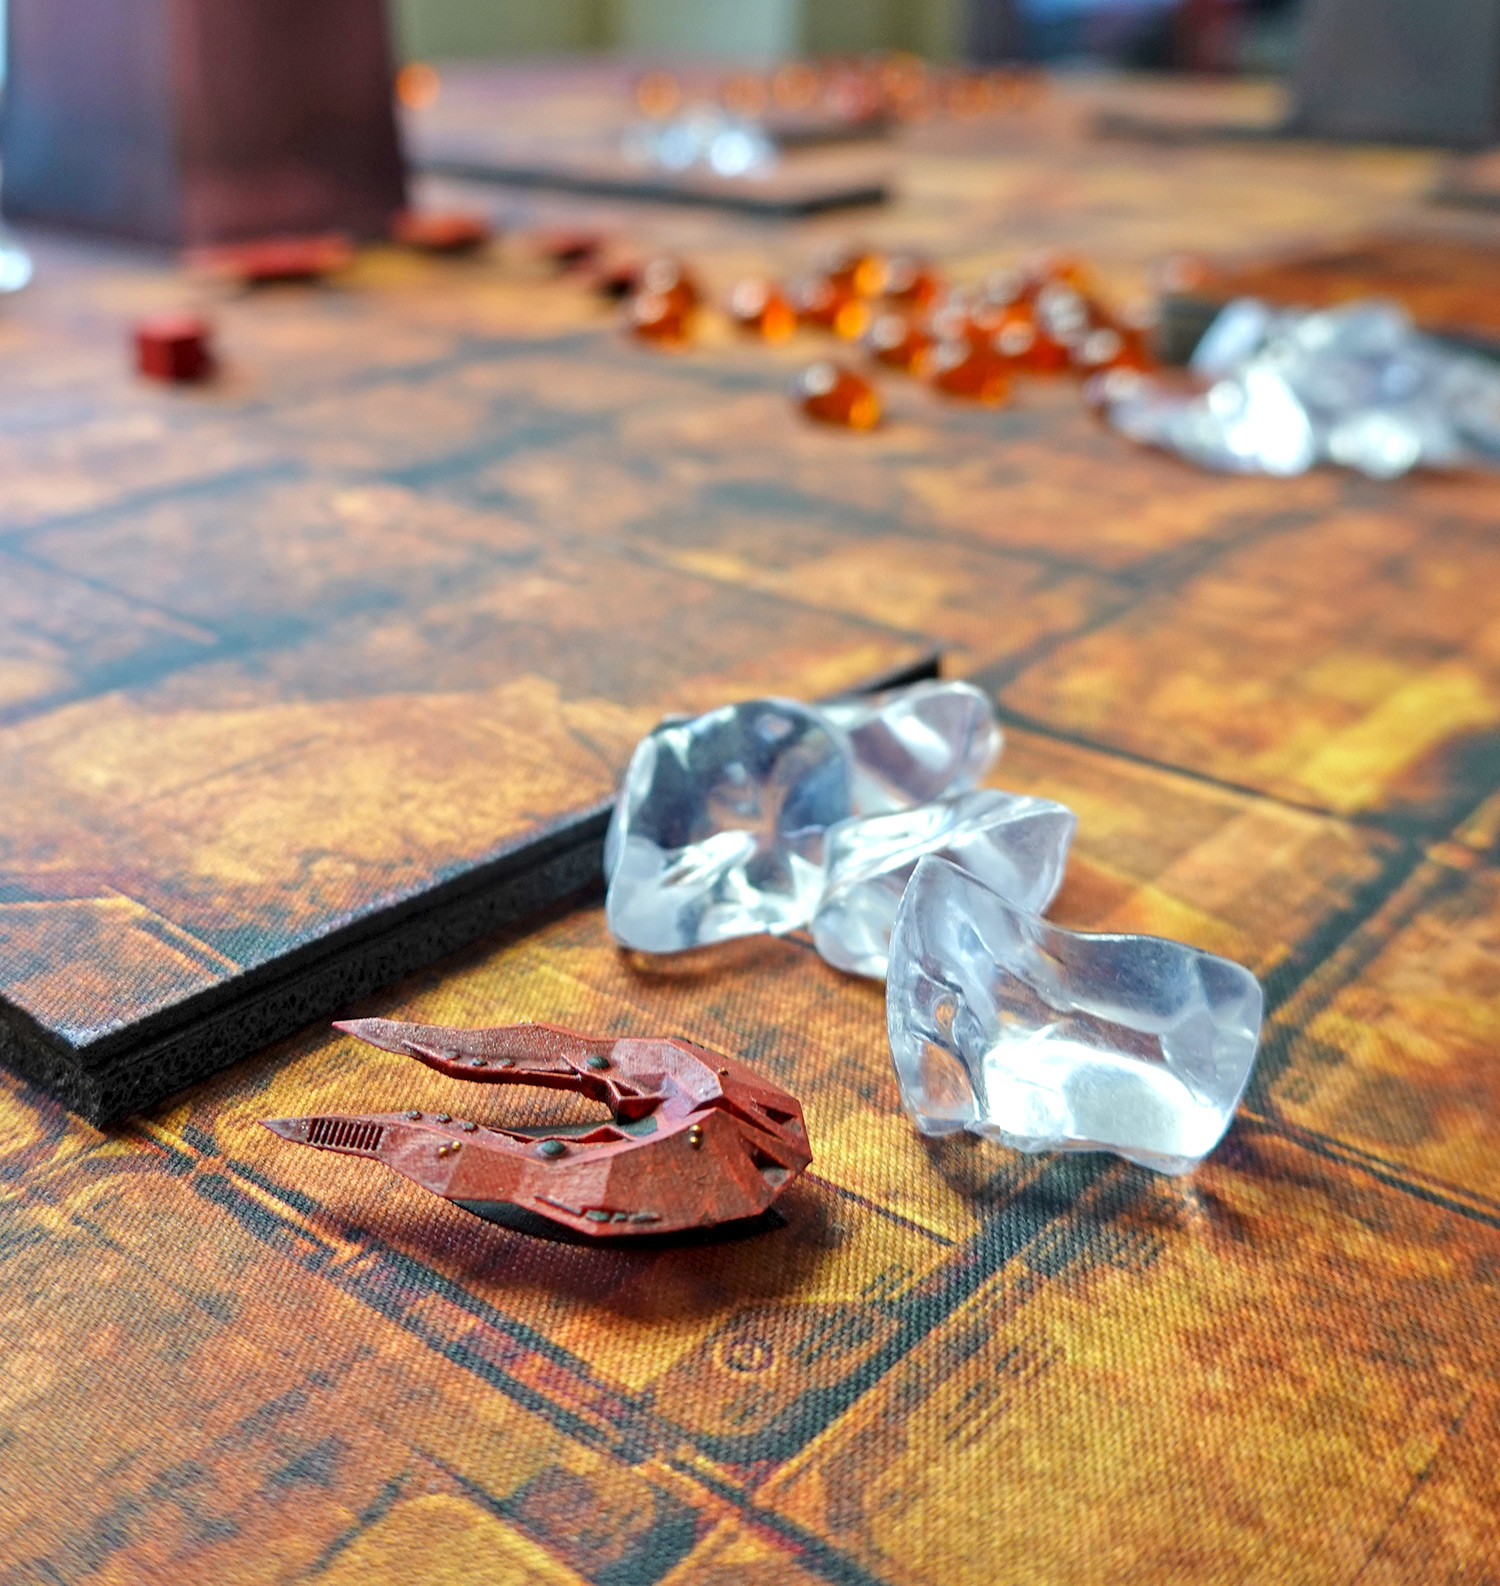
End
of game wrecker's yard: knocked-out MGVs in "The Lane." |
|
